
A cricket bat is meant to be treated with delicacy and class. The on-field hard-hitting must be balanced with off-field care. There are many ways through which your cricket bat can be treated significantly. Remember, the more you look after your bat, the more it will repay during those crucial matches
Method 1: Knocking your cricket bat properly
How to knock in your cricket bat?
A. Mallet Hitting

The classical way of preparing your newly purchased bat for a hard-hitting knock involves a mallet. Mallet is hammer-shaped wooden equipment meant to strike the surface with force.
The process is simple and practical. Here are the following steps:
- Knock your bat with a mallet in such a way that it strikes the middle of your ZAP bat. Neat strikes are recommended.
- After a while, the bat will have a dent in the middle. This dent is not worrisome but a good sign of progress.
- You will notice that the surface surrounding the middle portion is not level and the dent looks deeper than the rest. All you need to do is just level out the surface with equal strength of mallet strikes. Once done, your bat will look finer in the middle and more in symmetry.
- Repeat the process with the edges of the bat and notice that the sound of mallet strike is the same throughout the surface.
- The compression of the willow allows for a smoother surface and even smoother contact. Hence the term middle with perfection.
B. Knocking with an old cricket ball

1. Use an old cricket leather ball and wrap it inside a sock completely.
2. Start by striking the ball on the lower middle portion of the bat. Make sure that the ball strikes neatly and produces a thumping sound.
3. Just like in the case of the mallet, steadily start reaching for the uneven surfaces of the bat.
4. Once the frontal surface is done, you can aim for edges and carry out a similar process.
Suggestions:
You should knock a new bat for at least 6 hours.
Make sure that mallet strikes are limited to the middle and edge only. There is no need to knock the bottom part of your bat. Plus, the process of completely knocking a new bat is essential for availing ZAP’s exclusive one-year warranty.
It can be done in either of the two ways:
- Knocking the bat in a single sitting for six hours.
- Knocking your new bat for one hour continuously for six days.
Do not use a new leather ball for knocking your bat. A new ball is hard and can cause significant damage to the surface of the new bat.
Note - There is no need to knock your old bat because it already has open strokes.
Method 2: Applying Scuff Sheet On Bat before usage

ZAP provides a perfect length(130MM * 65 MM) of Scuff Sheet. The Scuff sheet is made from high-quality fiber-glass tape running along the side to protect your new bat from any damage.
Important note- ZAP’s unique 1 year extended cricket bat warranty will apply once you have added a scuff sheet to your new cricket bat before serious knocking.
Read the full terms and conditions of the extended warranty scheme here
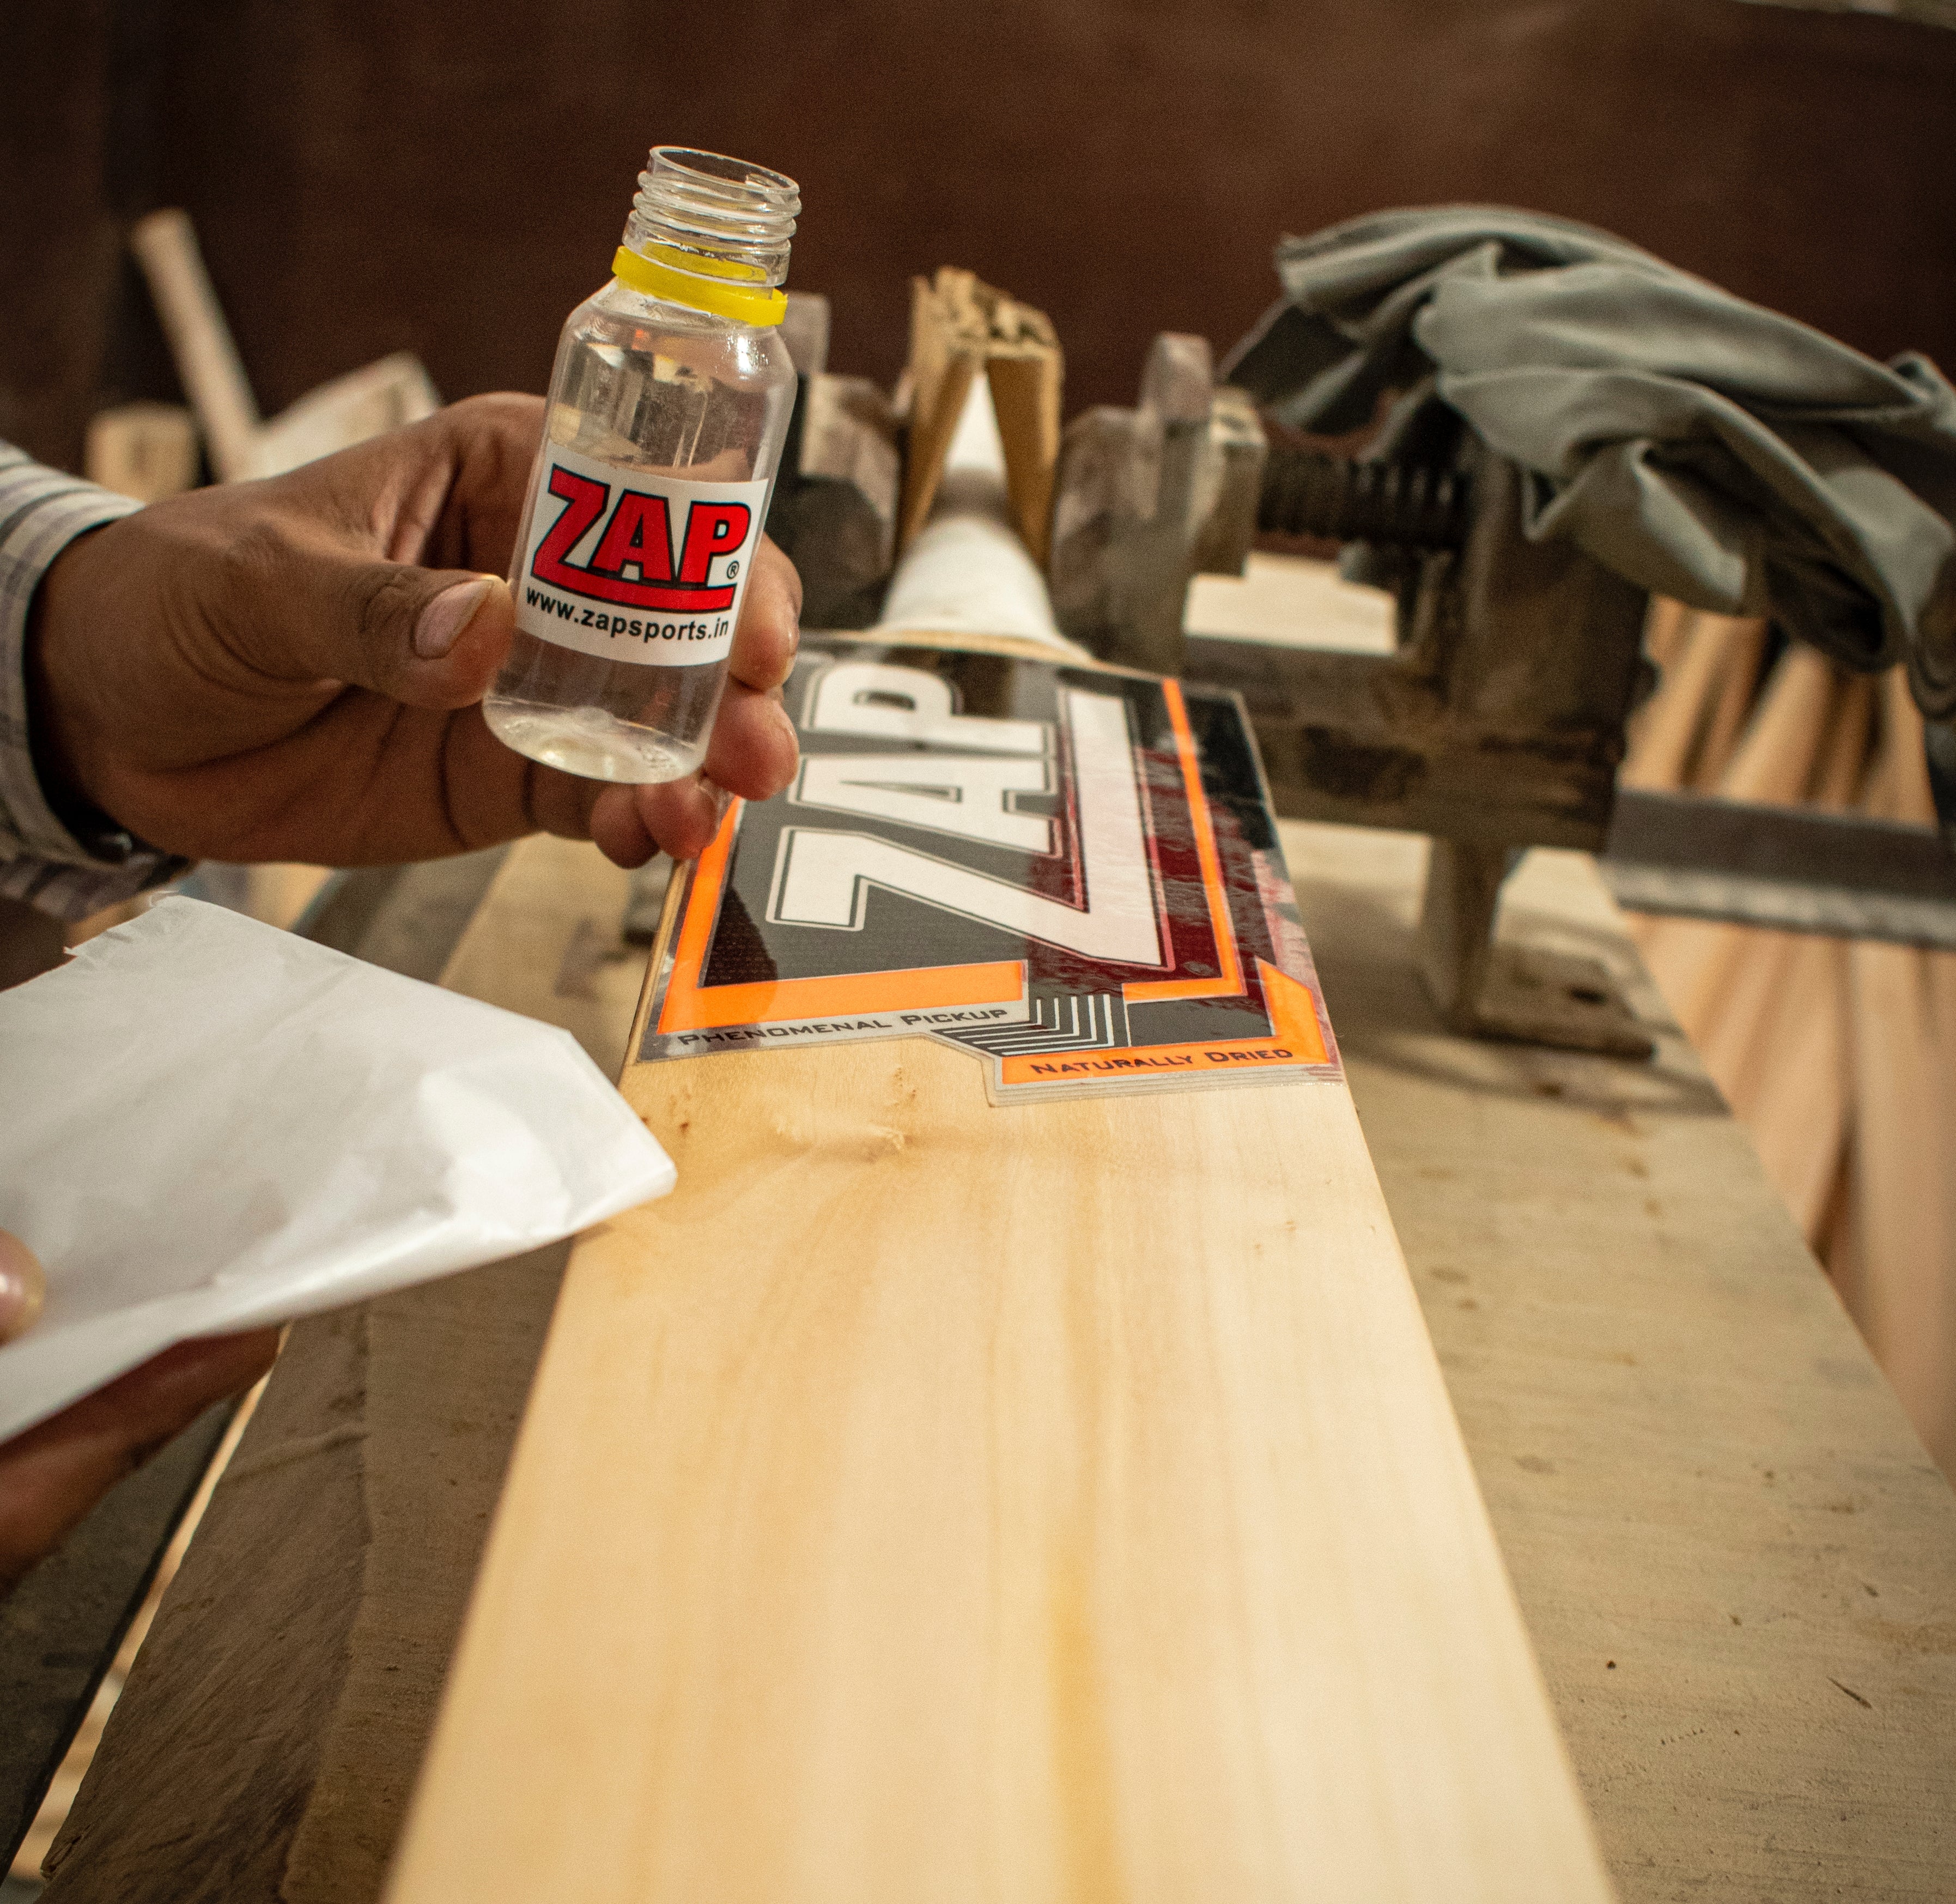
Method 3: Oiling your bat

If you have already applied scuff sheet and you notice that the wood of the bat is getting dry, then remove the old/worn-out scuff sheet and apply oil to the bat.
There are many varieties of oils that you can try but we will recommend Linseed oil to go with the process.
It is critical that the bat receives sufficient oil to prevent cracking and splitting. It is, however, equally important that you do not use too much oil. This is often more harmful, because the added wetness can throw the bat's weight balance off. It can also cause the bat to decay, rendering it completely unusable!. Generally, a total of 2-3 initial coats are sufficient & one coat in every 8-12 weeks is advised.
Know more about the different kinds of cricket bat willows:
English Willow vs Kashmir Willow Cricket Bats

Steps to oil the bat in the right fashion are as follows :
1. With the help of a cloth or paintbrush, gently apply raw linseed oil on the frontal surface of the bat. Although oiling the back is not necessary.
2. Spread the oil evenly throughout the entire surface area with the cloth. Apply a tiny layer of oil to all of the bat's uncovered regions. The targeted areas for applying oil should be the Middle, edge, and toe.
3. By standing the bat upright, you can be sure you haven't used too much oil. If you can see the oil dripping down the bat's face, you've applied too much. Wipe away the excess oil with the cloth.
4. Once applied, leave it to soak the oil completely for approximately 12 hours while keeping the bat in a horizontal position or as long as it take to completely dry out.
5. After some time, use another cloth to completely dry out your bat.
If you follow these steps, then your bat will be ready for some genuine stroke play.
Note - On the face of some cricket bats, as may have see protective covers known as scuff sheets are fitted. It is not required to apply oil to that area if your bat has one of these. Instead, simply apply the oil to all of the other exposed locations described in the preceding steps.
Looking for a perfect oil for your bat?
Use ZAP Bat Oil and take care of your bat properly
Method 4: Storing your bat properly

Method 5: Bat Grip is the key

One of the most common issues with a cricket bat is the grip. Over a while, it can get loose or completely worn out. A good grip and well-conditioned handle reflect flawless wristwork.
Make sure that the original grip is tight enough and well-positioned. Depending on your match schedules, you’ll need to change grips or tighten them. This will allow for a seamless bat flow with some classy wristwork.
Tired of buying grips that don’t last? Try grips from zap cricket and get a permanent fix
These methods will help you to keep the bat in a significant state over time. We at ZAP Cricket believe in quality products that push the sportsperson in you to reach new heights. We have got you covered from cricket kits to powerful English willow bats.
Now that you've read about how to take care of your new cricket bat, you need skills to take your game to the next level and here are some articles that will help you:
Cricket Batting Techniques | Straight Drive Cricket Shot | Cover Drive Cricket Shot | Pull Shot in Cricket | Sweep Shot in Cricket
Share:
Indian Women's Cricketer Nuzhat Parween Joins ZAP Cricket
How to put a grip on a cricket bat?
5 comments
Please provide a extra grip with gripper
Today I ordered my bat ZAP PREMIUM WILLOW.and I am very excited for that.and hopefully Zap bats give me a great response.and vey excited to play with. And I will also give a feedback after uses.Again thank you for Zap company.
Thanks for the advice I will now take very good care of my bat
Thank you,
What is the price of your brand bats
English willow